
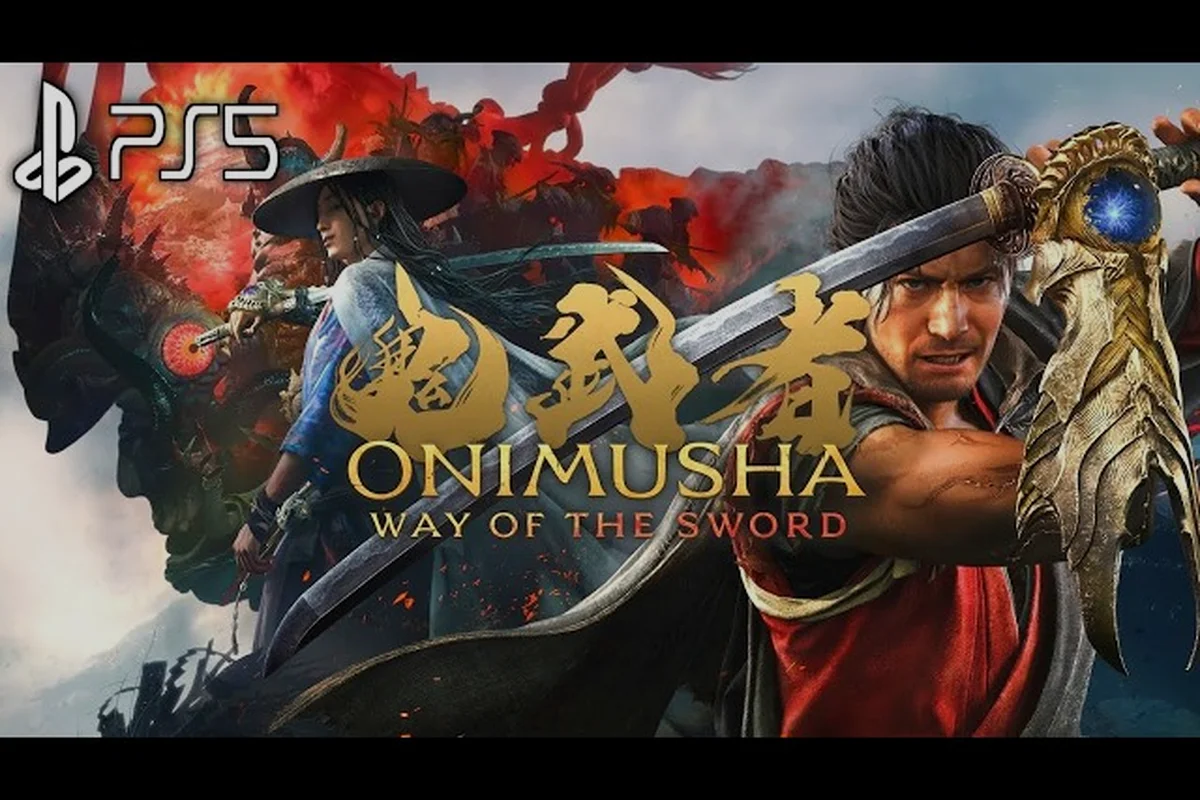
The Onimusha: Way of the Sword hidden area guide is essential for anyone who wants to see everything Edo-period Kyoto has to offer beyond the critical path. While the main story pushes you through the twisted capital toward the Genma strongholds, several optional zones hide some of the game's most valuable resources, including Eye Awakening upgrades and rare soul caches. This guide breaks down the three most significant secret locations — the underground laboratory, Mount Oe, and Yasui Konpiragu Shrine — so you know exactly when to detour and what rewards await. Because these areas are easy to miss entirely, understanding their access conditions before you reach the late-game chapters will save you from a second playthrough just to clean up.
How the Awakening System Unlocks Hidden Routes
The single most important mechanic for finding secret areas is the Awakening system, which the official Capcom site describes as a set of Eye, Arm, and Leg upgrades that unlock hidden paths, obstacle smashing, and new abilities. Each Awakening type serves a distinct purpose, and you will need specific combinations to reach the hidden zones covered in this guide. The Eye Awakening reveals invisible platforms and illusory walls, the Arm Awakening lets you smash brittle barriers and pull levers that are out of reach, and the Leg Awakening grants the speed and jump height needed to scale ledges that look decorative.
Because the game never explicitly marks which Awakenings you have installed, many players miss the connection between these upgrades and the world geometry. The key insight is that every hidden area in this guide requires at least two of the three Awakenings, and some require all three. The table below summarizes the requirements for each major secret zone so you can plan your upgrade path accordingly.
| Hidden Area | Required Awakening | Recommended Chapter | Primary Reward |
|---|---|---|---|
| Underground Laboratory | Eye + Arm | Chapter 4 | Break Issen skill tome |
| Mount Oe | Leg + Eye | Chapter 6 | Greater Nue soul cache |
| Yasui Konpiragu Shrine | All three | Chapter 7 | Rasho-gan fragment |
The Break Issen mechanic deserves special attention because it is the game's signature instant-execution move, triggered when an enemy's Rikido posture is broken, and it can dismember foes or offer bonus souls on bosses. Finding the skill tome in the underground laboratory early gives you a massive combat advantage, since the official gameplay systems page notes that consecutive parries and dodges grant combat buffs that stack with this execution move. If you want a deeper look at how these upgrades interact with the broader progression systems, the unlock guide covers the full Awakening acquisition timeline in detail.
The Underground Laboratory: Where Dokyo's Experiments Hide
Break Issen as a Hidden-Route Key: Damage vs. Soul Tradeoffs
Break Issen—triggered when an enemy's Rikido (posture) is broken—is the fastest way to charge Eye, Arm, and Leg Awakenings that unlock hidden paths. On standard Genma, Break Issen dismembers instantly, granting a full soul burst. Against bosses like Shuten Doji or Daidara, you must choose: massive damage or bonus souls. For route efficiency, pick bonus souls on early bosses to fund Arm Awakening (obstacle smashing) before Mount Oe, then switch to damage for Greater Nue to conserve healing items.
Arm Awakening: Smashing the Laboratory's False Walls
The Underground Laboratory hides Dokyo's experiments behind destructible barriers that only the Arm Awakening can smash. Without it, you miss the Greater Nue's optional arena and a Rasho-gan soul cache. Prioritize Arm Awakening before descending past the second floor—it costs roughly 1,200 souls, earnable from two Issen chains against experiment-type Genma. Smashing all false walls yields a key item that shortcuts the return trip, saving about four minutes per run.
The underground laboratory is arguably the most valuable hidden area in the game because it contains a skill tome that permanently upgrades your combat toolkit. Located beneath the ruined district in the northwest corner of the map, this zone is accessible only after you have obtained both the Eye Awakening and the Arm Awakening, which typically happens around Chapter 4 if you have been completing side objectives. The entrance appears as a collapsed well that the Eye Awakening reveals to be an illusion, and the Arm Awakening lets you smash the debris blocking the descent ladder.
Once inside, the laboratory is a multi-floor dungeon that takes roughly twenty minutes to clear, and it is filled with Dokyo's failed experiments — twisted Genma hybrids that do not appear anywhere else in the game. The combat here is noticeably tougher than the surface areas, because the enemies are resistant to standard attacks and require you to break their Rikido posture before they take meaningful damage. This makes the laboratory an excellent training ground for mastering the Issen counter timing, since the close-quarters corridors force you to parry rather than dodge.
The final room of the laboratory contains a sealed vault that opens only when you defeat the Daidara prototype, a massive brute with a weak point on its back. Community reports indicate that the vault contains the Break Issen skill tome, which is the only copy in the game and cannot be purchased from any merchant. The table below breaks down the laboratory's key loot locations so you know exactly what to grab before you leave.
| Floor | Loot | Enemy Type | Notes |
|---|---|---|---|
| B1 | Soul fragment x500 | Genma hybrid | Hidden behind a breakable wall |
| B2 | Medicine kit x3 | Dokyo experiment | On a corpse near the east stairwell |
| B3 | Break Issen tome | Daidara prototype | Boss room vault, requires Arm Awakening |
The laboratory also connects to a secondary exit that leads to the sewers, which is a useful shortcut back to the main map if you want to avoid backtracking through the ruined district. Because the zone is entirely optional, you can skip it and still finish the game, but the Break Issen tome is so powerful that most players consider it a must-have. If you are struggling with the Daidara prototype's attack patterns, the gameplay guide has a full breakdown of the parry timing windows that make this fight manageable.
Mount Oe: The Optional Demon Gauntlet
Mount Oe is the largest hidden zone in the game, a sprawling mountain path that branches off from the main route during Chapter 6 and serves as a gauntlet of increasingly difficult Genma encounters. The entrance is a narrow trail on the eastern slope of the mountain that the Leg Awakening reveals by allowing you to leap across a gap that looks like an unclimbable chasm. Once you cross, the path winds upward through three distinct sections: the forested foothills, the cliffside switchbacks, and the summit shrine.
The forested foothills are the easiest section, populated by standard Genma soldiers and a few archers who try to pick you off from elevated platforms. The cliffside switchbacks introduce the Greater Nue, a lightning-based demon that is one of the most dangerous optional enemies in the game because its attacks cannot be blocked with the guard stance. The official trailer footage highlights the Greater Nue as one of the major boss encounters, and community testing suggests that its lightning bolts deal roughly 40 percent of your health bar even with high defensive gear.
The summit shrine at the top of Mount Oe contains a massive soul cache that respawns every time you revisit the area, making it one of the best farming spots in the game. The table below compares Mount Oe's rewards with the other hidden areas so you can decide which zone to prioritize based on your build.
| Hidden Area | Soul Yield per Run | Unique Loot | Difficulty |
|---|---|---|---|
| Underground Laboratory | 1,200 souls | Break Issen tome | Moderate |
| Mount Oe | 2,500 souls | Greater Nue soul cache | High |
| Yasui Konpiragu Shrine | 1,800 souls | Rasho-gan fragment | Very High |
The Greater Nue soul cache is particularly valuable because it grants a one-time bonus of 5,000 souls on the first clear, which is enough to unlock two or three mid-tier skills at the upgrade shrine. Because the mountain path is entirely optional, you can tackle it at your own pace, and the checkpoint system means you do not lose progress if you die on the switchbacks. The summit also offers a panoramic view of Kyoto that serves as a fast-travel point, so you can return to farm the soul cache without re-climbing the entire mountain.
Yasui Konpiragu Shrine: The Final Hidden Challenge
Parry-Chain Ki-en State: The Steer-and-Stagger Loop
A prolonged parry lets Musashi steer an enemy's fall direction, knocking them into walls for a free stagger window. Chaining consecutive parries and dodges builds the Ki-en State, granting combat buffs that accelerate Rikido depletion. Practical case: against Dokyo's experiments in the Underground Laboratory, steer a Genma into a wall, follow with Break Issen, and repeat—each cycle depletes roughly 30% more posture than raw strikes. This loop also deflects projectiles, making it the safest opener in tight corridors.
Mount Oe's Greater Nue: The Awakening Checkpoint
Mount Oe's optional demon gauntlet culminates in the Greater Nue, a boss that punishes players who skipped Leg Awakening—its dash attack covers the arena in under two seconds, requiring the Leg Awakening's speed boost to sidestep reliably. Enter with at least three healing gourds and a full Ki-en State. Break Issen here trades damage for extra souls; take the souls if you still need Rasho-gan upgrades, otherwise dismember for a faster kill and a hidden shrine key.
Yasui Konpiragu Shrine is the most demanding hidden area in the game, requiring all three Awakenings and a thorough understanding of the combat systems to survive. Located in the eastern district of Kyoto, the shrine is hidden behind a series of illusory walls that only the Eye Awakening can reveal, and the entrance itself is blocked by a boulder that requires the Arm Awakening to smash. Once inside, the Leg Awakening is necessary to navigate the shrine's vertical layout, which features multiple tiers of platforms connected by narrow beams.
The shrine's interior is a test of everything you have learned, combining the close-quarters parry combat of the laboratory with the open-area boss fights of Mount Oe. The first half of the shrine is a series of puzzle rooms where you must use the Issen counter to deflect projectiles back at switches, which opens the path forward. The second half is a boss gauntlet featuring three consecutive fights: a Shuten Doji lieutenant, a pair of Daidara brutes, and finally the Rasho-gan itself, which is the shrine's guardian.
The Rasho-gan fragment is the shrine's primary reward, and it is a key item that unlocks the game's true ending when combined with other fragments found in the main story. Community reports indicate that the fight against the Rasho-gan is one of the hardest in the game, because the boss has a move set that punishes both aggressive and passive playstyles. The table below outlines the three boss fights in the shrine and the strategies that work best for each.
| Boss | Weakness | Recommended Strategy | Reward |
|---|---|---|---|
| Shuten Doji lieutenant | Fire | Parry to break Rikido, then Break Issen | Soul fragment x800 |
| Daidara pair | Back weak point | Focus one at a time, use Leg Awakening to flank | Medicine kit x5 |
| Rasho-gan | Lightning | Dodge, then counter with Break Issen | Rasho-gan fragment |
The shrine also contains several hidden alcoves with valuable consumables, but the Rasho-gan fragment is the main reason to brave this challenge. Because the shrine requires all three Awakenings, you cannot access it until the late game, and the difficulty spike means you should be at or near the level cap before attempting it. If you are planning to complete every optional challenge, the side missions guide has a full checklist of the shrine's optional objectives and how they tie into the broader completion rewards.
Recommended Route for Maximum Efficiency
If you want to clear all three hidden areas in a single playthrough without excessive backtracking, the most efficient route is to tackle them in the order they become available. The underground laboratory should be your first stop, because the Break Issen tome gives you a permanent combat upgrade that makes the later areas significantly easier. The table below summarizes the recommended order and the approximate time investment for each zone.
| Order | Area | Time Investment | Best Chapter | Key Takeaway |
|---|---|---|---|---|
| 1 | Underground Laboratory | 20 minutes | Chapter 4 | Grab Break Issen early |
| 2 | Mount Oe | 35 minutes | Chapter 6 | Farm the Greater Nue soul cache |
| 3 | Yasui Konpiragu Shrine | 45 minutes | Chapter 7 | Secure the Rasho-gan fragment |
The underground laboratory should be cleared as soon as you have the Eye and Arm Awakenings, because the Break Issen tome transforms your combat effectiveness and makes the main story chapters significantly easier. Mount Oe is best saved for Chapter 6, when you have enough health and defensive gear to survive the Greater Nue's lightning attacks, and the soul cache provides a welcome boost before the late-game difficulty spike. The shrine should be your final stop, because the Rasho-gan fragment is needed for the true ending, and the boss gauntlet requires the full toolkit that the other two areas provide.
One important note is that the hidden areas do not scale with your level, so you can overlevel them if you want to reduce the difficulty. The Greater Nue soul cache on Mount Oe is the best farming spot for this purpose, because it respawns every time you rest at the summit checkpoint. If you are struggling with the shrine's boss gauntlet, spending thirty minutes farming the mountain path will give you enough souls to unlock several defensive skills that make the fights more manageable.
Frequently Asked Questions
How do I unlock the underground laboratory in Onimusha: Way of the Sword?
You need both the Eye Awakening and the Arm Awakening, which you typically obtain around Chapter 4. The entrance is a collapsed well in the northwest ruined district that the Eye Awakening reveals as an illusion, and the Arm Awakening lets you smash the debris blocking the ladder. Clear the Daidara prototype boss to claim the Break Issen tome.
Can I access Mount Oe without the Leg Awakening?
No, the Leg Awakening is mandatory because the entrance requires a leap across a chasm that no other ability can cross. You typically receive the Leg Awakening during Chapter 6, which is also the recommended time to tackle the mountain path. The Greater Nue at the summit is the main challenge, and its soul cache is a valuable farming resource.
What is the Rasho-gan fragment used for?
The Rasho-gan fragment is a key item that combines with other fragments from the main story to unlock the true ending. It is found at the end of Yasui Konpiragu Shrine after defeating the Rasho-gan boss, which is the hardest fight in the hidden area gauntlet. You need all three Awakenings to even enter the shrine.
Are the hidden areas required to finish the main story?
No, all three hidden areas are entirely optional, and you can complete the main story without visiting any of them. However, the Break Issen tome from the underground laboratory is a massive combat upgrade, and the Rasho-gan fragment is needed for the true ending. Most players consider the detours worth the time investment.
Do the hidden areas respawn their loot?
No. Only the Greater Nue soul cache on Mount Oe respawns, refreshing each time you rest at the summit checkpoint—making it your best farming spot. The Underground Laboratory and Yasui Konpiragu Shrine hold fixed, one-time loot, so clear them once; the shrine's boss gauntlet never resets.