
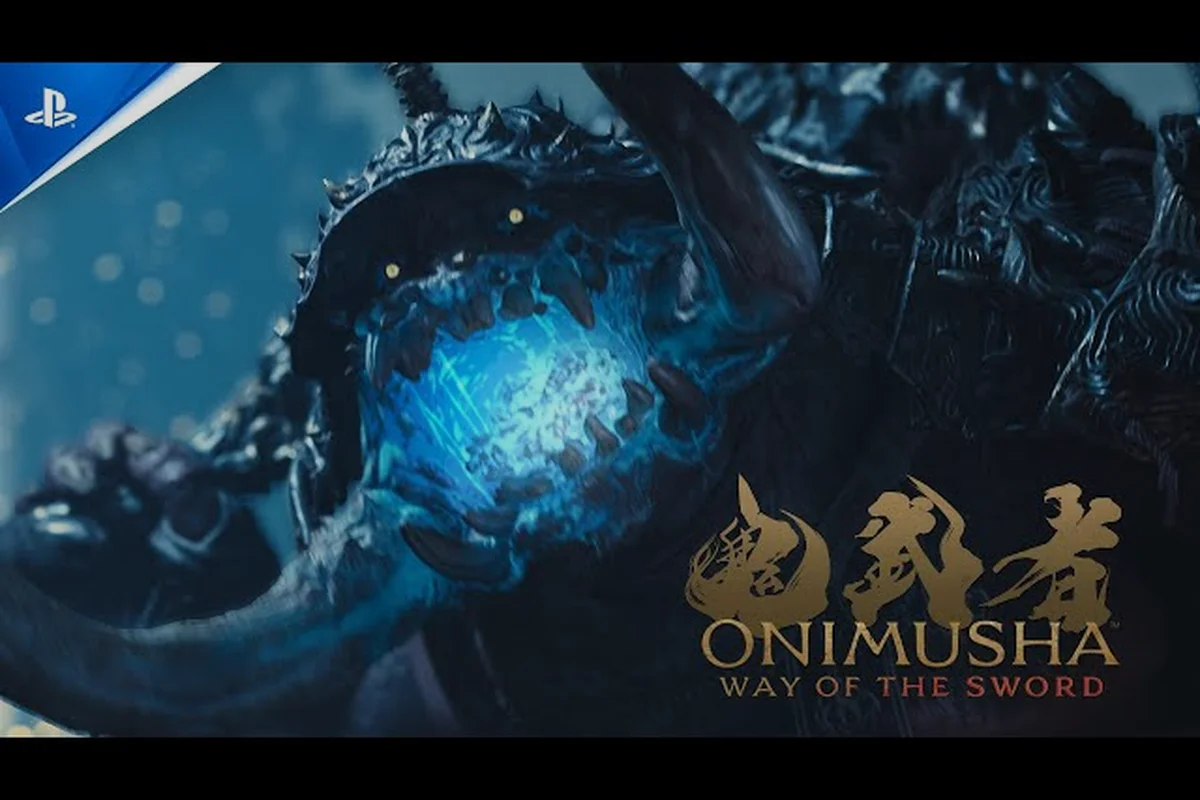
The Genma are the demonic antagonists of Onimusha: Way of the Sword, and knowing what you're fighting is half the battle in Capcom's dark fantasy action-adventure. This Onimusha: Way of the Sword enemies list breaks down every confirmed foe, from the lowliest Genma grunt to towering boss demons, with their attack patterns, weak points, and the best strategies for putting them down. Since the game launches in 2026, this enemy guide relies on official trailers, the demo build, and community reporting from the r/Onimusha subreddit, so expect details to evolve as players dig deeper into the twisted capital.
Onimusha: Way of the Sword Enemy Roster Overview
The enemy lineup in Way of the Sword draws heavily from the series' signature Genma demons, but Capcom has introduced new variants and elite units that demand fresh tactics. Based on the official Genma & Bosses trailer and the demo, players can expect a hierarchy that ranges from cannon fodder to multi-phase monstrosities, each with unique Rikido (posture) values, resistances, and execution windows. The game's combat loop revolves around breaking an enemy's posture to trigger Issen executions, which makes understanding each foe's defensive behavior as important as learning their attack tells.
| Enemy Class | Threat Level | Primary Weakness | Execution Method |
|---|---|---|---|
| Basic Genma Grunt | Low | Head, Rikido break | Standard Issen |
| Shielded Genma | Medium | Guard stance, flank | Break Issen after guard break |
| Ranged Genma | Medium | Close distance, deflect | Parry projectiles, then Issen |
| Elite Genma | High | Eye Awakening weak point | Break Issen for dismemberment |
| Boss Demons | Extreme | Phase-specific, Awakenings | Break Issen or damage trade |
The Genma serve as the primary antagonists throughout the story, which is set in Edo-period Kyoto and stars Miyamoto Musashi, whose face is modeled after Toshiro Mifune with likeness rights licensed from Mifune Productions. According to the official Capcom site, the Genma have overrun the city, and Musashi's journey through the twisted capital pits him against everything from possessed soldiers to experimental horrors created by Dokyo's twisted research.
What makes this enemy roster particularly interesting is how the Awakening system interacts with specific foes. The Eye Awakening reveals hidden weak points on certain demons, while the Arm Awakening unlocks the ability to smash through obstacles that some enemies use as shields. This means the Onimusha: Way of the Sword all enemies experience isn't just about learning attack patterns; it's about having the right tools unlocked before you engage certain threats, which is where the unlock guide becomes essential for completionists.
Basic Genma Units and Their Attack Patterns
The backbone of the Genma army consists of several distinct grunt types that players will encounter throughout the main campaign. These enemies appear in large groups and are designed to teach the game's core mechanics, but they also scale in difficulty as the story progresses, with later variants gaining new attacks and increased aggression. Community testing from the demo suggests that basic units become significantly more dangerous in New Game Plus, where their Rikido values increase alongside their damage output.
Standard Genma Grunt
The most common enemy in the game, these humanoid demons wield a variety of melee weapons ranging from rusted katanas to crude clubs. Their attack patterns are telegraphed with a short wind-up animation, making them ideal targets for practicing parry timing. When their Rikido is broken, they stagger forward, leaving them vulnerable to Issen executions that instantly kill them. Player reports indicate that these grunts drop consistent soul rewards, making them the primary farming target early in the game.
Shielded Genma and Guard-Break Tactics
These variants carry large shields that block frontal attacks, forcing players to either parry their shield bashes or use the Break Issen mechanic to shatter their defenses. The guard stance blocks attacks from all directions, according to Wikipedia's gameplay overview, which means you cannot simply circle around them. Instead, you need to bait their shield bash, parry it to stagger them, then follow up with a heavy attack to break their posture. Alternatively, the Arm Awakening lets you smash through their shields directly, though this consumes significant stamina.
Ranged Genma and Projectile Deflection
These enemies attack from distance with energy bolts or thrown weapons, and they excel at disrupting your rhythm when mixed into melee groups. The key counter is the prolonged parry, which lets you steer an enemy's fall direction and also deflects projectiles back at the attacker. A well-timed deflected bolt can stagger the Ranged Genma, giving you an opening to close the distance and execute them. According to the official site, consecutive parries and dodges grant combat buffs, so chaining deflections against groups of Ranged Genma builds momentum.
| Basic Unit | Health Pool | Souls on Kill | Best Counter |
|---|---|---|---|
| Genma Grunt | Low | 10-15 | Parry + Issen |
| Shielded Genma | Medium | 20-25 | Guard break + Break Issen |
| Ranged Genma | Low | 15-20 | Projectile deflect + rush |
| Genma Hound | Low | 8-12 | Dodge + counter-attack |
| Possessed Soldier | Medium | 25-30 | Parry chain + Ki-en State |
The Genma Hound deserves special mention because it breaks the humanoid pattern entirely. These quadrupedal demons leap at Musashi with rapid bite attacks, and their low profile makes them difficult to parry. Most players recommend dodging their lunges rather than attempting to parry, then punishing the recovery animation with a heavy combo. Because they often appear in packs of three or more, managing spacing becomes critical to avoid being overwhelmed while you deal with the humanoid units.
Elite Genma and Dokyo's Experiments
As the story progresses, players encounter significantly more dangerous opponents that serve as mini-bosses or elite units within regular encounters. These enemies have higher Rikido values, more complex attack chains, and often require specific Awakening abilities to defeat efficiently. The lore ties these creatures directly to Dokyo's experiments, which the genma weak points guide explores in greater detail.
The Greater Nue
The Greater Nue is a chimera-like demon that combines features of multiple animals, and it appears to be one of Dokyo's more successful experiments. According to the official trailer, this creature has a distinctive howl attack that staggers Musashi even when he's guarding, which suggests it has a stamina-piercing property that bypasses normal defensive mechanics. Its attack patterns alternate between rapid claw swipes and a leaping body slam that creates a shockwave, and the only reliable opening is during the recovery frames after the shockwave.
Dokyo's Lab Creations
The underground laboratory area houses several experimental Genma variants that appear nowhere else in the game. These include amalgamated creatures with multiple limbs, enemies that split into smaller versions when killed, and one particularly disturbing unit that appears to be a failed attempt to fuse a human with Genma DNA. Community reports indicate that these enemies are highly resistant to standard Issen executions, requiring players to use the Break Issen mechanic to dismember them instead. The trade-off is that Break Issen on these enemies yields significantly more souls, making them worthwhile targets despite the increased risk.
| Elite Unit | Rikido Value | Break Issen Reward | Recommended Awakening |
|---|---|---|---|
| Greater Nue | High | 2x soul bonus | Eye (reveals weak point) |
| Lab Amalgam | Very High | 3x soul bonus | Arm (smashes armor) |
| Twin-Head Demon | High | 2x soul bonus | Leg (mobility for dodges) |
| Possessed Samurai | Medium-High | 1.5x soul bonus | None (parry-focused) |
The Possessed Samurai is arguably the most dangerous elite unit because it fights with human-level intelligence. These enemies parry Musashi's attacks, punish whiffs with devastating counters, and even use the same Issen mechanic against the player if their posture breaks. Fighting them requires patience and discipline, as you must bait their attacks, parry their strikes, and build your own Ki-en State before committing to an offensive. Players who master fighting these elites will find the boss encounters significantly easier, as many of the same principles apply.
Boss Demon Encounters and Phase Breakdowns
The boss fights in Way of the Sword represent the pinnacle of the enemy design, with each encounter featuring multiple phases, unique mechanics, and dramatic arenas. The official Genma & Bosses trailer showcased several of these encounters, including Shuten Doji, Daidara, and Rasho-gan, each with distinct visual designs and combat approaches. Boss fights also introduce the decision between damage and soul rewards on Break Issen, which adds a strategic layer to how you finish each phase.
Shuten Doji Boss Fight
Shuten Doji appears to be one of the early major bosses, and the trailer shows Musashi engaging this massive demon in what appears to be a burning village. The fight follows a pattern familiar to series veterans: the boss has a weak point that becomes exposed after certain attack sequences, and hitting it staggers him for a brief window. However, unlike earlier Onimusha games, Shuten Doji has a second phase where he arms himself with a massive club that creates area-of-effect shockwaves, forcing players to stay mobile rather than trading blows.
Daidara and Environmental Mechanics
The Daidara encounter appears to incorporate environmental mechanics, with the trailer showing Musashi using the Leg Awakening to leap across collapsing platforms while the boss attacks from a distance. This fight appears to test the player's understanding of the Awakening system as much as their combat skills, since the boss is largely unreachable during certain phases. Community speculation suggests that the Eye Awakening reveals hidden weak points on Daidara's body, though this has not been confirmed as of the demo build.
| Boss | Phases | Unique Mechanic | Break Issen Trade |
|---|---|---|---|
| Shuten Doji | 2 | Exposed weak point, shockwaves | Damage vs. soul bonus |
| Daidara | 3 | Environmental platforming | Damage vs. soul bonus |
| Rasho-gan | 2 | Lightning attacks, Rikido break | Damage vs. soul bonus |
| Greater Nue | 2 | Howl stagger, leaping slam | Damage vs. soul bonus |
The Rasho-gan boss, featured in the trailer with dramatic lightning attacks, tests the player's ability to read telegraphed strikes and punish recovery windows. According to the gameplay systems overview, a prolonged parry lets you steer an enemy's fall direction, and this mechanic appears crucial for positioning Rasho-gan into environmental hazards during the second phase. The fight rewards players who master the Ki-en State, which grants combat buffs after consecutive parries and dodges, effectively making aggression the best defense against this boss.
Enemy Soul Economy and Farming Strategy
Understanding the soul economy is essential for efficient progression, and different enemies yield different rewards. The Oni Gauntlet absorbs souls from defeated enemies, and these souls serve as currency for weapon upgrades, Awakening abilities, and other progression systems. Because Break Issen on bosses trades massive damage for extra souls, players must decide whether to end fights quickly or maximize their soul intake, and this decision shapes farming routes throughout the game.
| Enemy Type | Average Soul Yield | Farm Efficiency | Location |
|---|---|---|---|
| Genma Grunt | 10-15 souls | High (fast kills) | Throughout Kyoto |
| Shielded Genma | 20-25 souls | Medium (needs guard break) | City districts |
| Ranged Genma | 15-20 souls | Medium (deflect timing) | Rooftops, towers |
| Elite Genma | 50-100 souls | Low (slow kills) | End-game areas |
| Boss Demons | 500-2000 souls | Very Low (single fight) | Story encounters |
For efficient soul farming, the best approach is to find an area with dense clusters of basic Genma units, preferably with a mix of grunts and shielded variants. The key insight from community testing is that parry chains build the Ki-en State, which increases soul absorption rates, so maintaining combat momentum is more efficient than resetting between fights. Players who chain parries across multiple enemies report significantly higher soul yields per minute than those who fight each enemy individually.
The decision between damage and soul rewards on Break Issen becomes particularly important during boss fights, since the soul bonus can be substantial. According to player reports from the demo, choosing the soul reward on a boss's final phase can net an additional 500-1000 souls, which translates to meaningful upgrade progress. However, this trade-off extends the fight duration, increasing the risk of death and losing accumulated progress, so players should only take the soul bonus when they're confident in their ability to survive the extended encounter. For players building toward specific weapon upgrades, understanding these trade-offs is critical to efficient progression.
Advanced Enemy Tactics and Community Discoveries
As players have spent time with the demo build, several advanced techniques and enemy behaviors have emerged from community testing. The r/Onimusha subreddit has been particularly active in documenting these discoveries, and while some details may shift in the final release, the core principles appear solid. These advanced tactics focus on maximizing combat efficiency against specific enemy types, and they're particularly valuable for players attempting higher difficulty runs.
Parry Chain Optimization
The most significant community discovery concerns parry chain optimization against groups of enemies. Because consecutive parries and dodges grant combat buffs, skilled players can maintain near-constant buff uptime by deliberately engaging multiple enemies simultaneously. The key is positioning: by keeping enemies on one side, you can parry attacks from one while dodging another, building Ki-en State without taking damage. This technique requires precise timing, but the buffs gained make it the most efficient way to clear dense enemy groups.
Weak Point Exploitation
The Eye Awakening reveals hidden weak points on certain enemies, and community testing has identified which enemies benefit most from this ability. The Greater Nue, for example, has a weak point on its underside that's only visible when it rears up for its howl attack, and hitting it staggers the boss for an extended window. Similarly, the Rasho-gan boss has a weak point on its back that's accessible during the recovery frames after its lightning attack, though reaching it requires the Leg Awakening for the necessary mobility.
| Technique | Difficulty | Soul Yield Increase | Risk Level |
|---|---|---|---|
| Parry Chain | Medium | 25-35% | Low |
| Weak Point Strike | High | 40-50% | Medium |
| Break Issen on Elites | High | 100-200% | High |
| Ki-en State Maintenance | Medium | 30-40% | Low |
The Break Issen mechanic deserves special attention because it fundamentally changes the risk-reward calculation against elite enemies. While standard Issen executions are safe and reliable, Break Issen on elites requires breaking their Rikido while their health is above a certain threshold, which typically means sustained aggression against a dangerous opponent. The reward, however, is substantial: dismembered elites drop significantly more souls, and some variants drop unique upgrade materials that cannot be obtained through standard kills. Players who master this technique report that it transforms the soul economy, making otherwise tedious farming routes obsolete.
Frequently Asked Questions
What is the most common enemy type in Onimusha: Way of the Sword?
The standard Genma Grunt is the most common enemy, appearing throughout the twisted capital in dense groups. These humanoid demons wield melee weapons and serve as the primary combat tutorial, teaching parry timing and Issen execution mechanics. Their low health and predictable attacks make them ideal for practicing advanced techniques.
How do I break an enemy's Rikido posture?
Rikido breaks when you land consecutive hits or successful parries without taking damage. Heavy attacks and Awakening abilities deal bonus posture damage, and the Ki-en State buff increases posture damage significantly. Once broken, enemies stagger forward, leaving them vulnerable to Issen executions.
Are there enemies that require specific Awakening abilities?
Yes, several elite enemies and mini-bosses have defenses that require specific Awakenings. The Arm Awakening smashes through shields and armored plating, while the Eye Awakening reveals hidden weak points on creatures like the Greater Nue. The Leg Awakening provides mobility for reaching enemies that stay out of melee range.
What is the difference between Issen and Break Issen?
Issen is a standard instant execution triggered when an enemy's Rikido is broken, and it instantly kills basic enemies. Break Issen is a more powerful execution that dismembers enemies, requiring a stronger Rikido break. Against bosses, Break Issen trades massive damage for bonus souls, letting players choose between ending fights faster or maximizing rewards.
Which enemy gives the most souls per kill?
Boss demons give the most souls per kill, with rewards ranging from 500 to 2000 souls depending on the encounter and whether you choose the Break Issen soul bonus. However, elite Genma units are more efficient for farming because they respawn and offer 50-100 souls per kill with significantly less risk than boss encounters.